Is there an easy way to find a specific Outlook message by date using Outlook Export Wizard?
Learn how Outlook Export Wizard can help you create chronologically accurate Outlook message archives and easily search Outlook messages by date. See how the program will let you create completely identical copies of your Outlook folders on your hard drive.
Keep the original chronological order while saving Outlook messages.
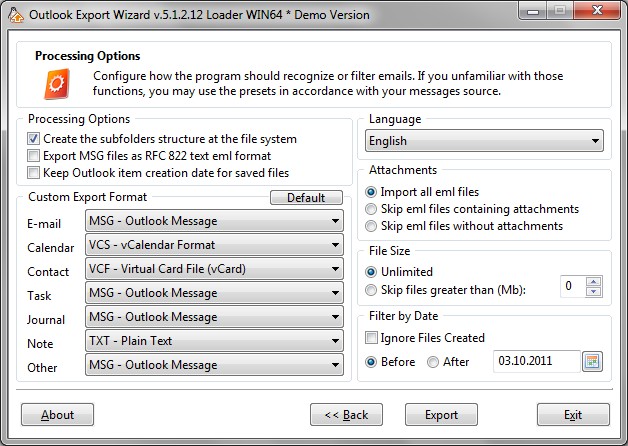
If you ever need to export your emails to files on the hard drive, you will definitely want them to be initially organized in a way that will make further processing and message search easier. For instance, you may want to later import messages received on specific days, dates only or messages received within a certain time period. If exported Outlook messages are stored chronologically, it will be considerably easier to group, sort and bulk-process them using file managers and scripts. Outlook Export Wizard allows you to export Outlook messages in a way where every exported file’s date of creation will match the date of creation of corresponding Outlook objects, thus providing you with an exact copy of your Outlook folders on your hard drive. This can be done using a new option implemented in the most recent version of Outlook Export Wizard – “Keep the Outlook item creation date for saved files”.
Search Outlook message archives by date and organize them accordingly.
Using this option is easy. You don’t need to change anything in the familiar email export process. Once you have chosen a PST file to work with and specified the destination location for the files to be exported, click the “Exporting options” button in the lower part of the program window. This will open the options window. For the purpose described above, you will only need to check one option – “Keep the Outlook item creation date for saved files”. Once checked, it will ensure that every file exported from your PST file will have the creation date matching that of the corresponding Outlook message. Once done configuring export options, click OK to return to the first step of the wizard and proceed as usual by clicking the “Next” button.

The result of this export session will be an array of files datestamped according to the dates of creation of the original Outlook messages. You are now free to apply date filters and perform an accurate message search to find the files you need.